
Domain Name Analyzer Desktop User Guide
Installing and Starting Domain Name Analyzer Desktop
Installing and Starting the Application
This article explains the normal steps for installing Domain Name Analyzer Desktop and opening it for the first time. The exact installer screens may vary depending on your operating system and the version you downloaded.
Download the Installer
Download Domain Name Analyzer Desktop from the official DomainPunch website or from the download link provided with your purchase or product information. Use the installer that matches your operating system.
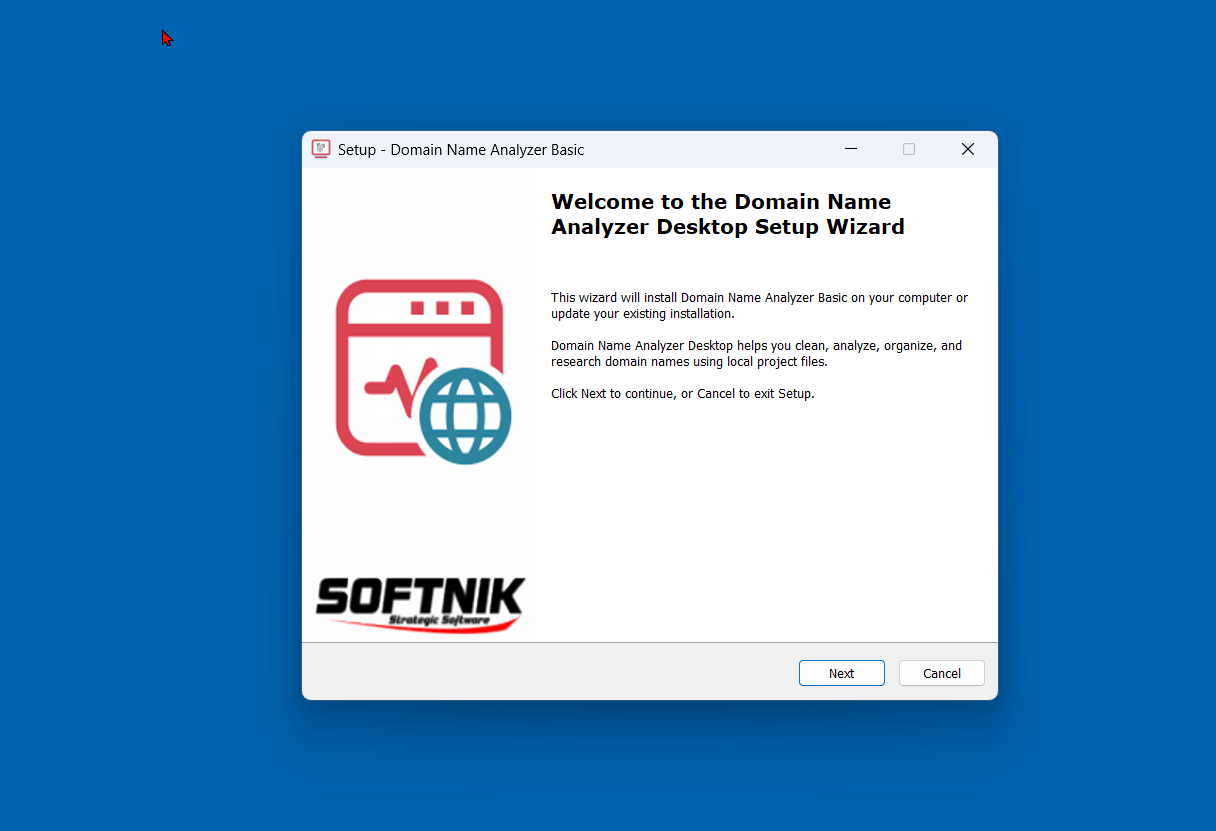
Run the Installer
Open the installer and follow the prompts. On Windows, this usually means accepting the installation location and completing the setup wizard. On macOS, this may involve opening the downloaded disk image and moving the application to the Applications folder.
Open Domain Name Analyzer Desktop
After installation, start Domain Name Analyzer Desktop from the Start menu, desktop shortcut, Applications folder, or the location where you installed it. The application opens to the main window, where you can create or open a project.
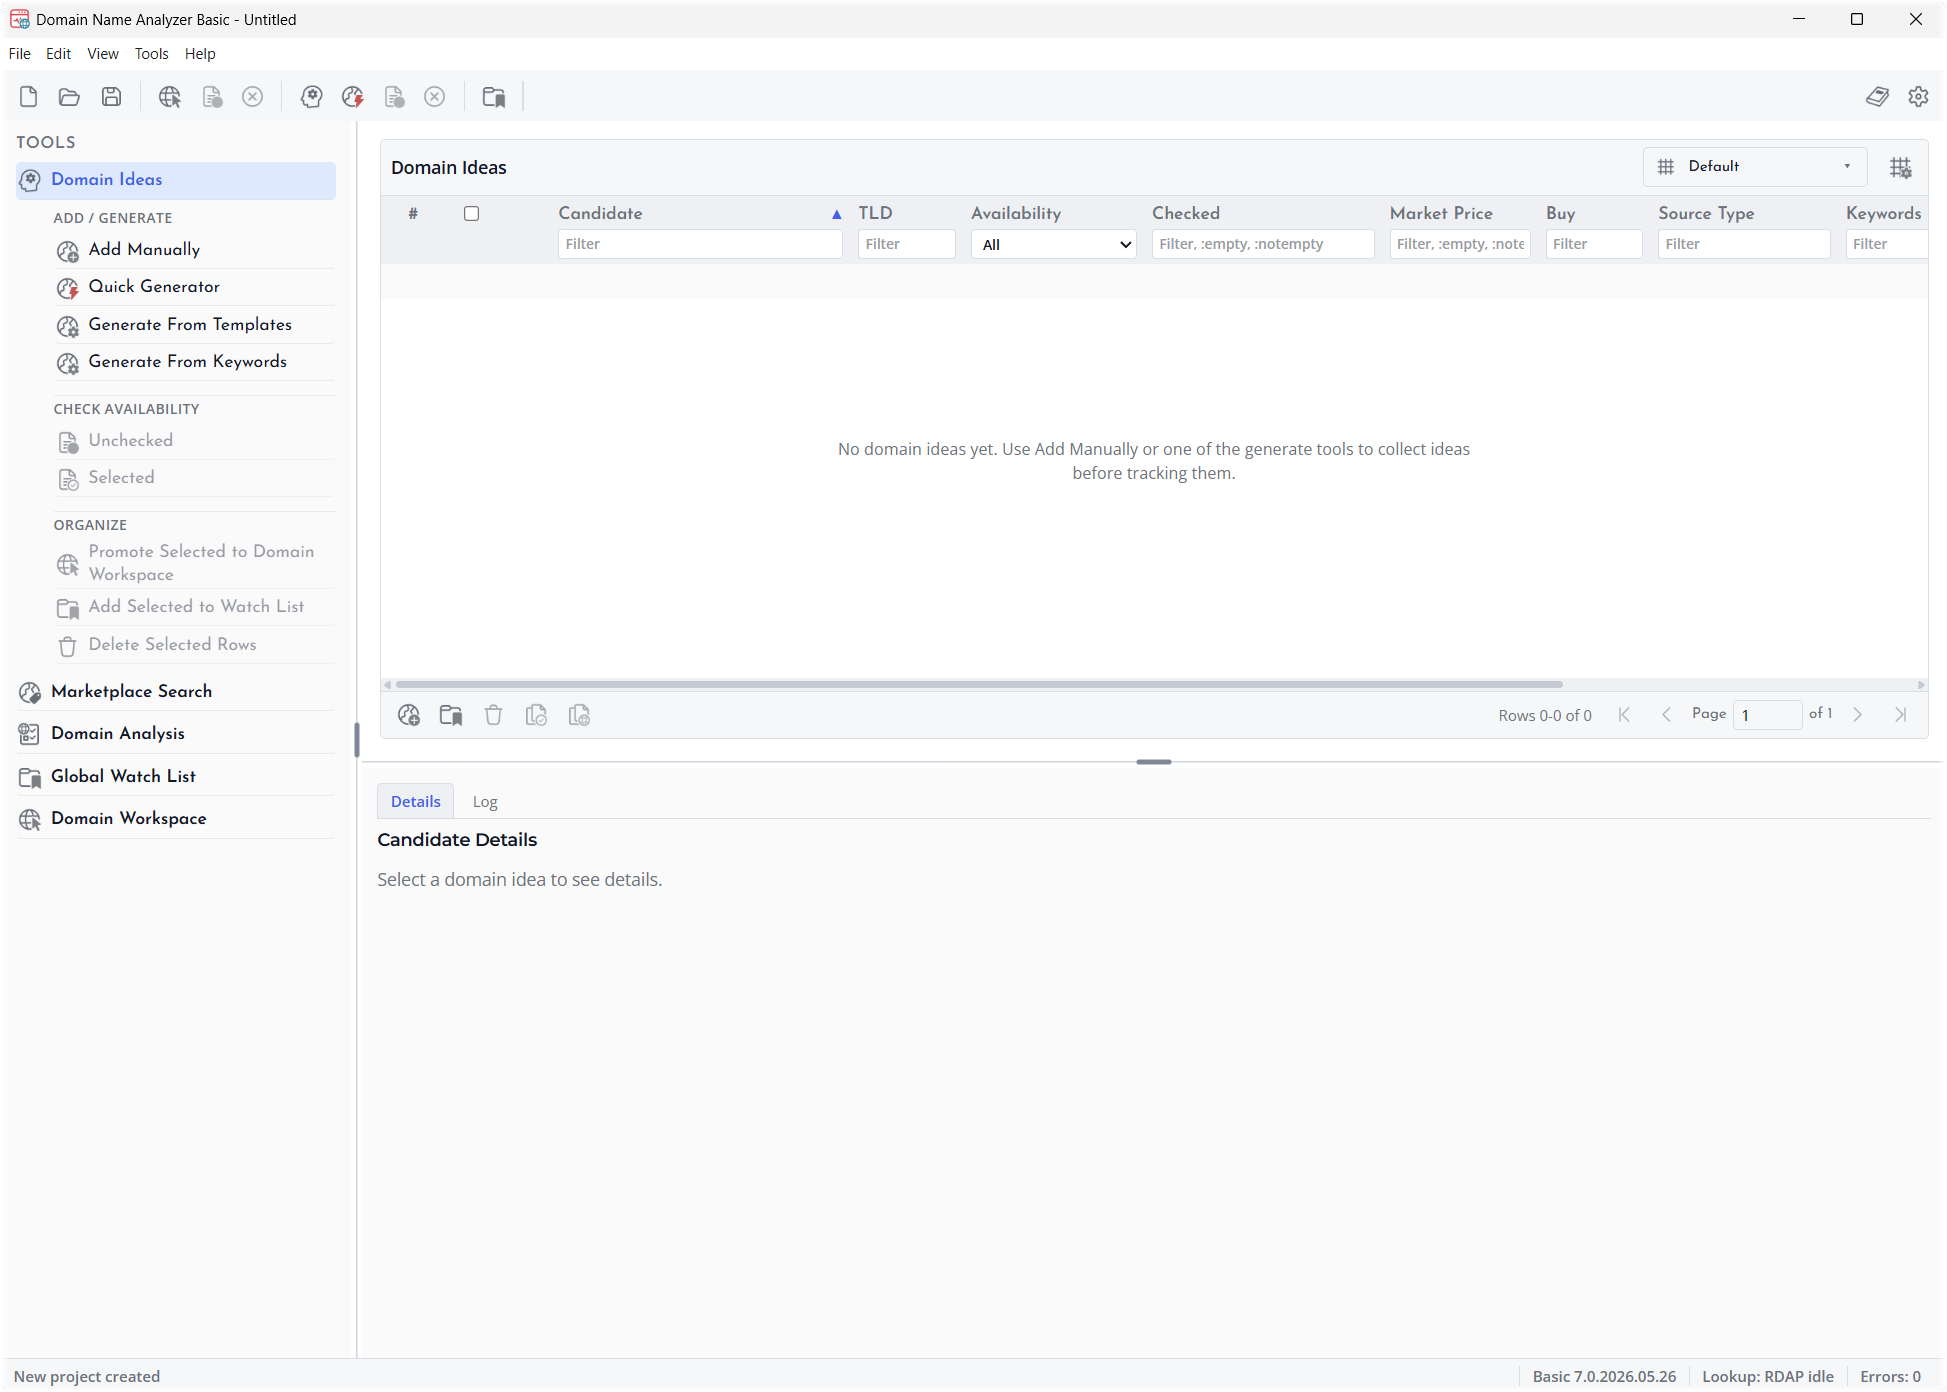
Next Step
After the application starts, create a new project or open an existing project. A project file keeps your domain records, candidate domains, lookup results, and notes together.
